Zu Produktinformationen springen
1 von 3

Paintbrush-Tastatur-Kit

Paintbrush-Tastatur-Kit

Normaler Preis €12,95 EUR
Normaler Preis Verkaufspreis €12,95 EUR
Sale Ausverkauft
Inkl. Steuern. Versand wird beim Checkout berechnet
Stil
×

Dieses Tastaturdesign ist anpassungsfähig und flexibel. Besonders für Menschen mit Behinderungen, diejenigen, die nicht auf herkömmlichen Tastaturen tippen können und diejenigen, die keine herkömmlichen Tastaturen verwenden möchten. Der Pinsel ist umkehrbar und kann daher sowohl für die linke als auch für die rechte Hand verwendet werden.

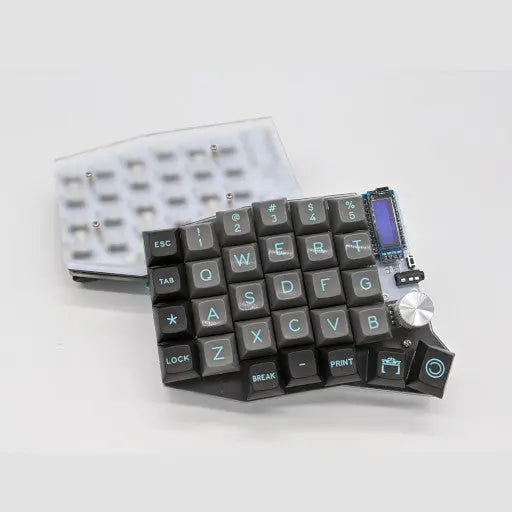
Der Paintbrush soll mit Systemen wieARTSEY.IO verwendet werden.

Kit beinhaltet

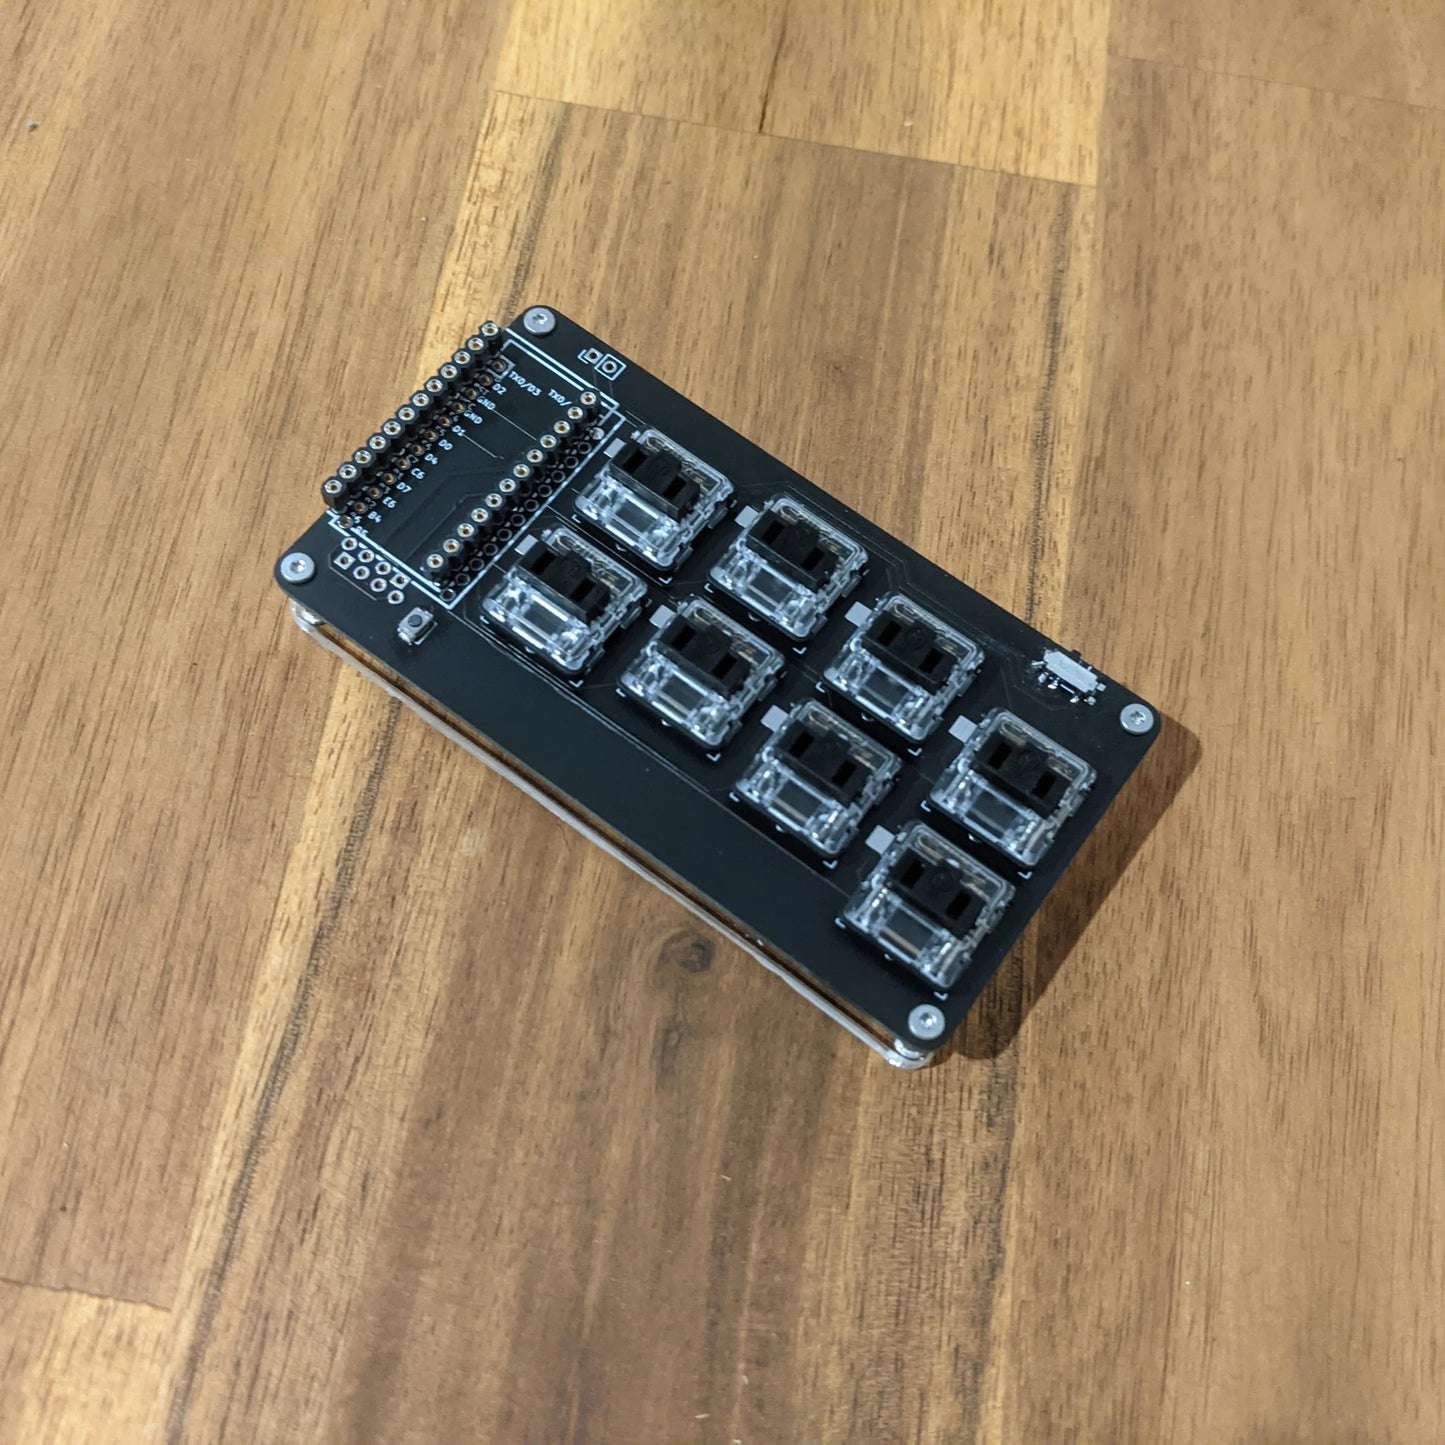
1 x Paintbrush v5 Platine

1 x Pinsel-Schalterplatte (MX-Profil).

1 x Acryl-Bodenplatte
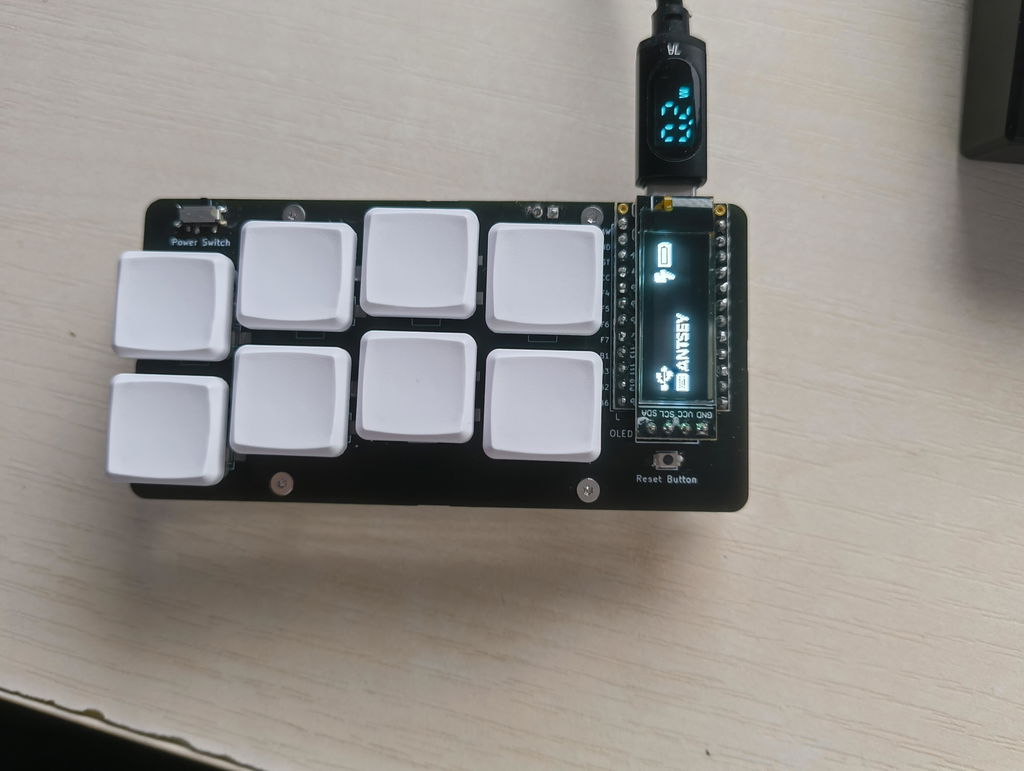
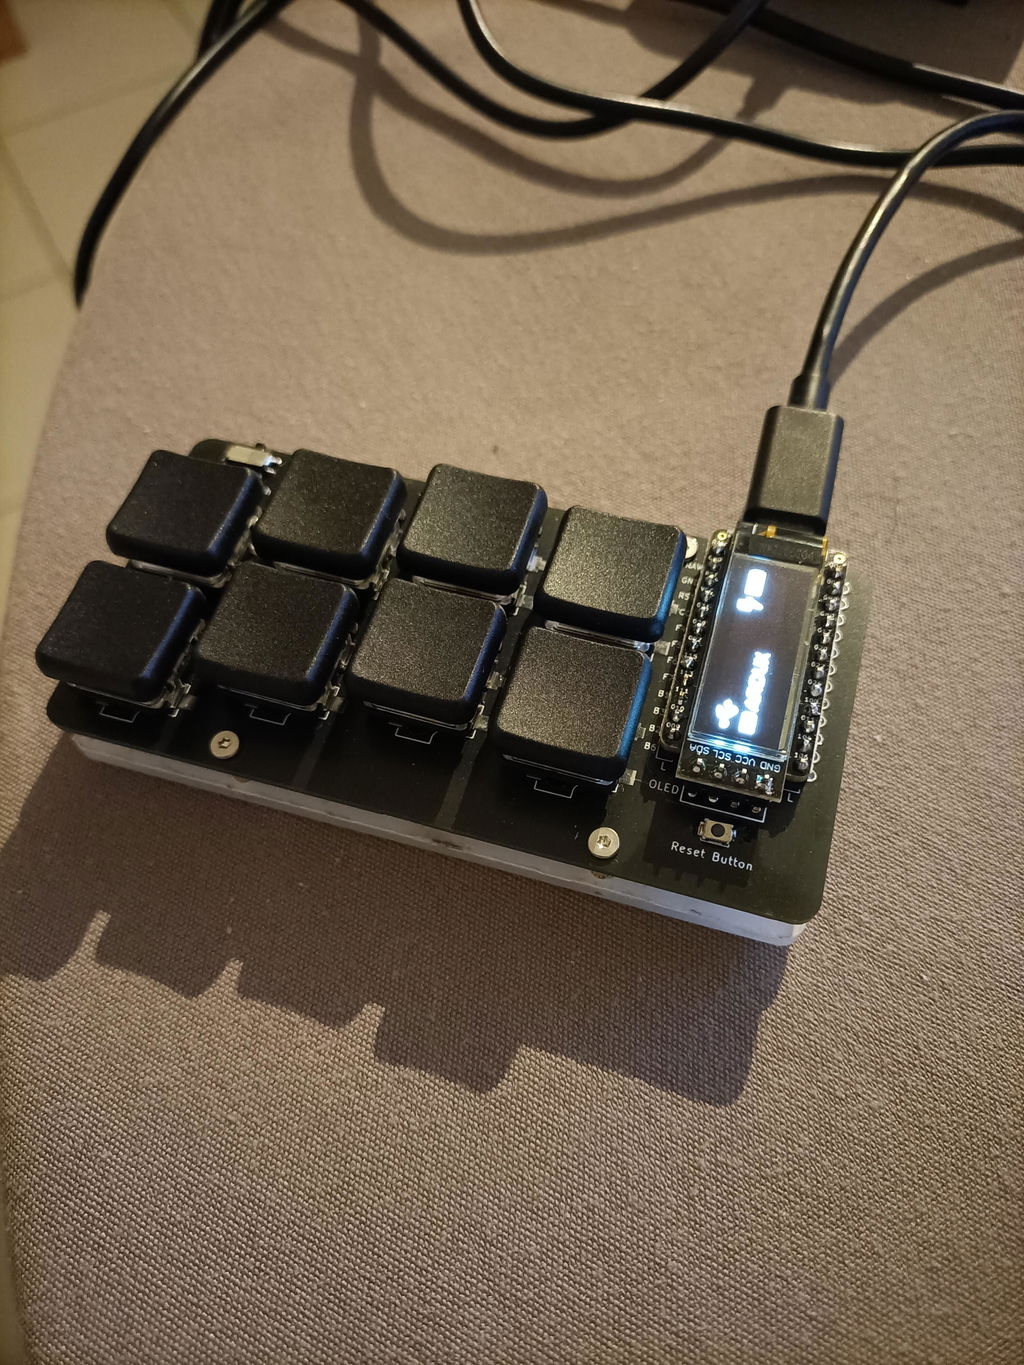
1 x OLED-Display

1 x Schiebeschalter

1 x taktiler Reset-Schalter

8 x Hot-Swap-Sockel

4 x 7 mm Messing-Abstandshalter

4 x 4 mm Schrauben

4 x 6 mm Schrauben

4 x Gummifüße


Zum Ausfüllen erforderlich

1 x Pro Micro Controller (wird mit Headern zum direkten Anschließen geliefert)

8 x Choc Low Profile-Schalter

8 x Choc Low Profile-Tastenkappen

oder

8 x MX-Schalter

8 x MX-Tastenkappen


Extras

1 x 40-polige, bearbeitete, zerbrechliche Buchsenleiste (ermöglicht Controller-Hot-Swap)

1 x 40-poliger, bearbeiteter, zerbrechlicher Stiftleistenstecker (Hot-Swap möglich)

oder

1 x 25 Stück Mill-Max bearbeitete Stifte

Bauanleitung

Paintbrush Build Guide

Vollständige Details anzeigen

Customer Reviews

Based on 4 reviews
100%
(4)
0%
(0)
0%
(0)
0%
(0)
0%
(0)
A
Antonio
Fun little build

First time properly building a keyboard, can definitely it was a lot of fun.
The build guide is pretty minimal - so it took me a bit to figure out how to solder the hotswap sockets (since I've never used them before), but I eventually figured it out. I do wish an extra socket was included, since they're pretty fragile and I accidentally broke one [but was able to just solder the switch directly].

I went with a SuperMini nRF52840 (from a different vendor) and the flashing was pretty straightforward - I just downloaded a .uf2 file from the zmk-ardux repository, pressed reset twice on the board and simply dragged the .uf2 file to the newly mounted drive. Ended up also porting the new ARTSEY layout as well. I do also want to mention that if you want add a battery, make sure it is small enough to fit between the PCB and the plate - but also consider that the hotswap sockets will take up 1-2mm of the free space (vertically).

Would recommend!

T
Terry Foust
Fun build!

Built two. Used sockets on the second one which works out much better. Can someone tell me where to get the firmware? All the references I've found have cryptic information that means nothing to me. I need simple and plain language instructions, please.

T
Thibaud
Matches the description

The build guide is definitely short and gives only the very minimal information. Assembling the kit and soldering everything together is not hard, but finding out how to flash the right firmware is a bit more tricky if like me you are not familiar with GitHub and coding in general...
Apart from that the product matches the description and it works. I can note however that the base plate came with burnt marks which won't go away. (Just esthetic but still...)

Thanks for the excellent review Thibaud. The bottom plate you mentioned has white protective plastic on the acrylic that can be removed by peeling it off.

Y
YuanShan
Insufficient information to build

The build guide section has no guide. On github the instructions are so short as to not answer most common questions you may have. Very difficult.

The build guide linked on the product page shows with pictures and clear steps on how the few components need to be installed. It is a very quick and easy build.The build guide can be found here https://github.com/keebd/thepaintbrush/tree/main/hardware/v5#build-instructions