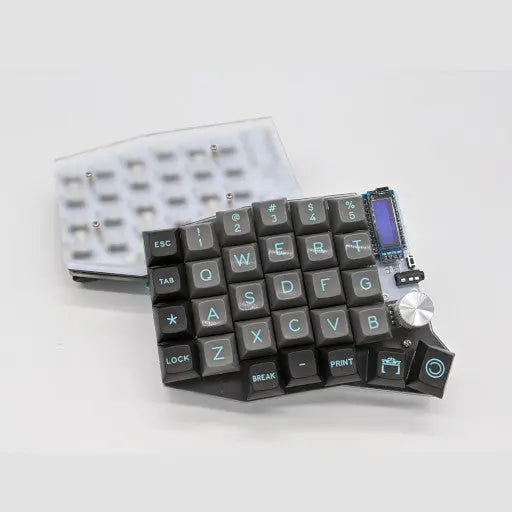


Paintbrush Keyboard Kit
Paintbrush Keyboard Kit
Notify When Available
Get an email when this product is back in stock.
We respect your privacy and don't share your email with anybody.
Couldn't load pickup availability
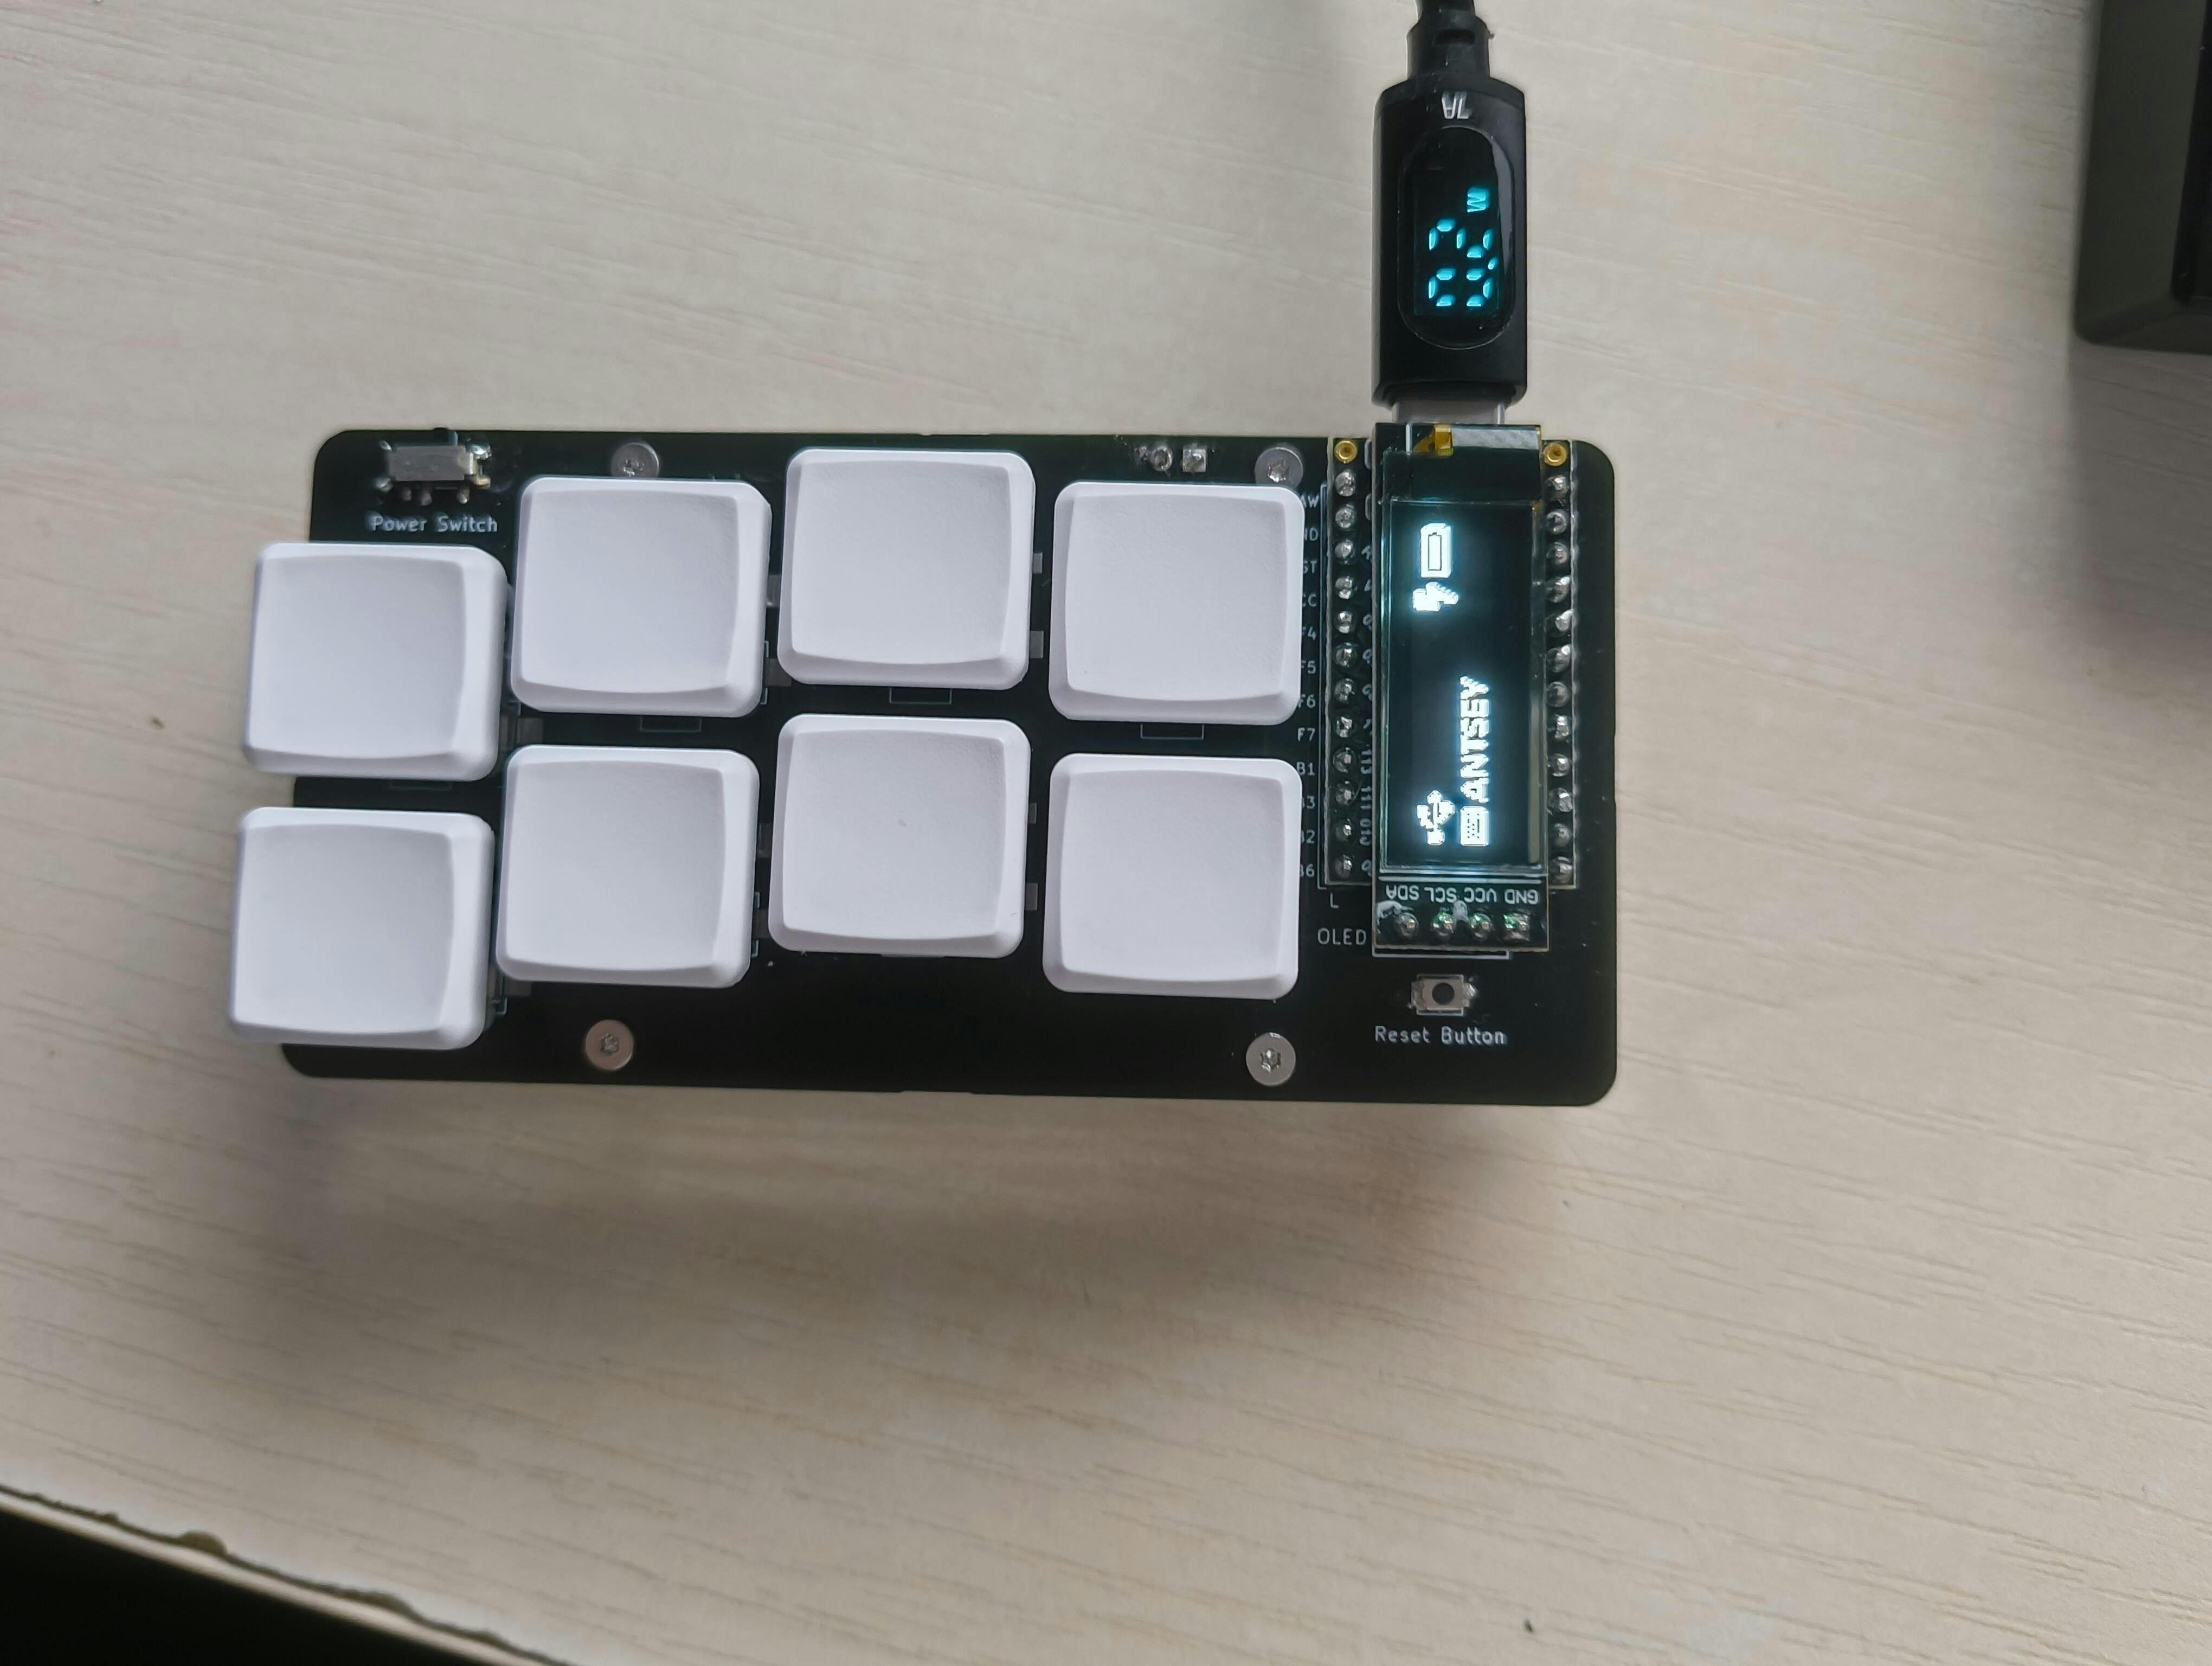
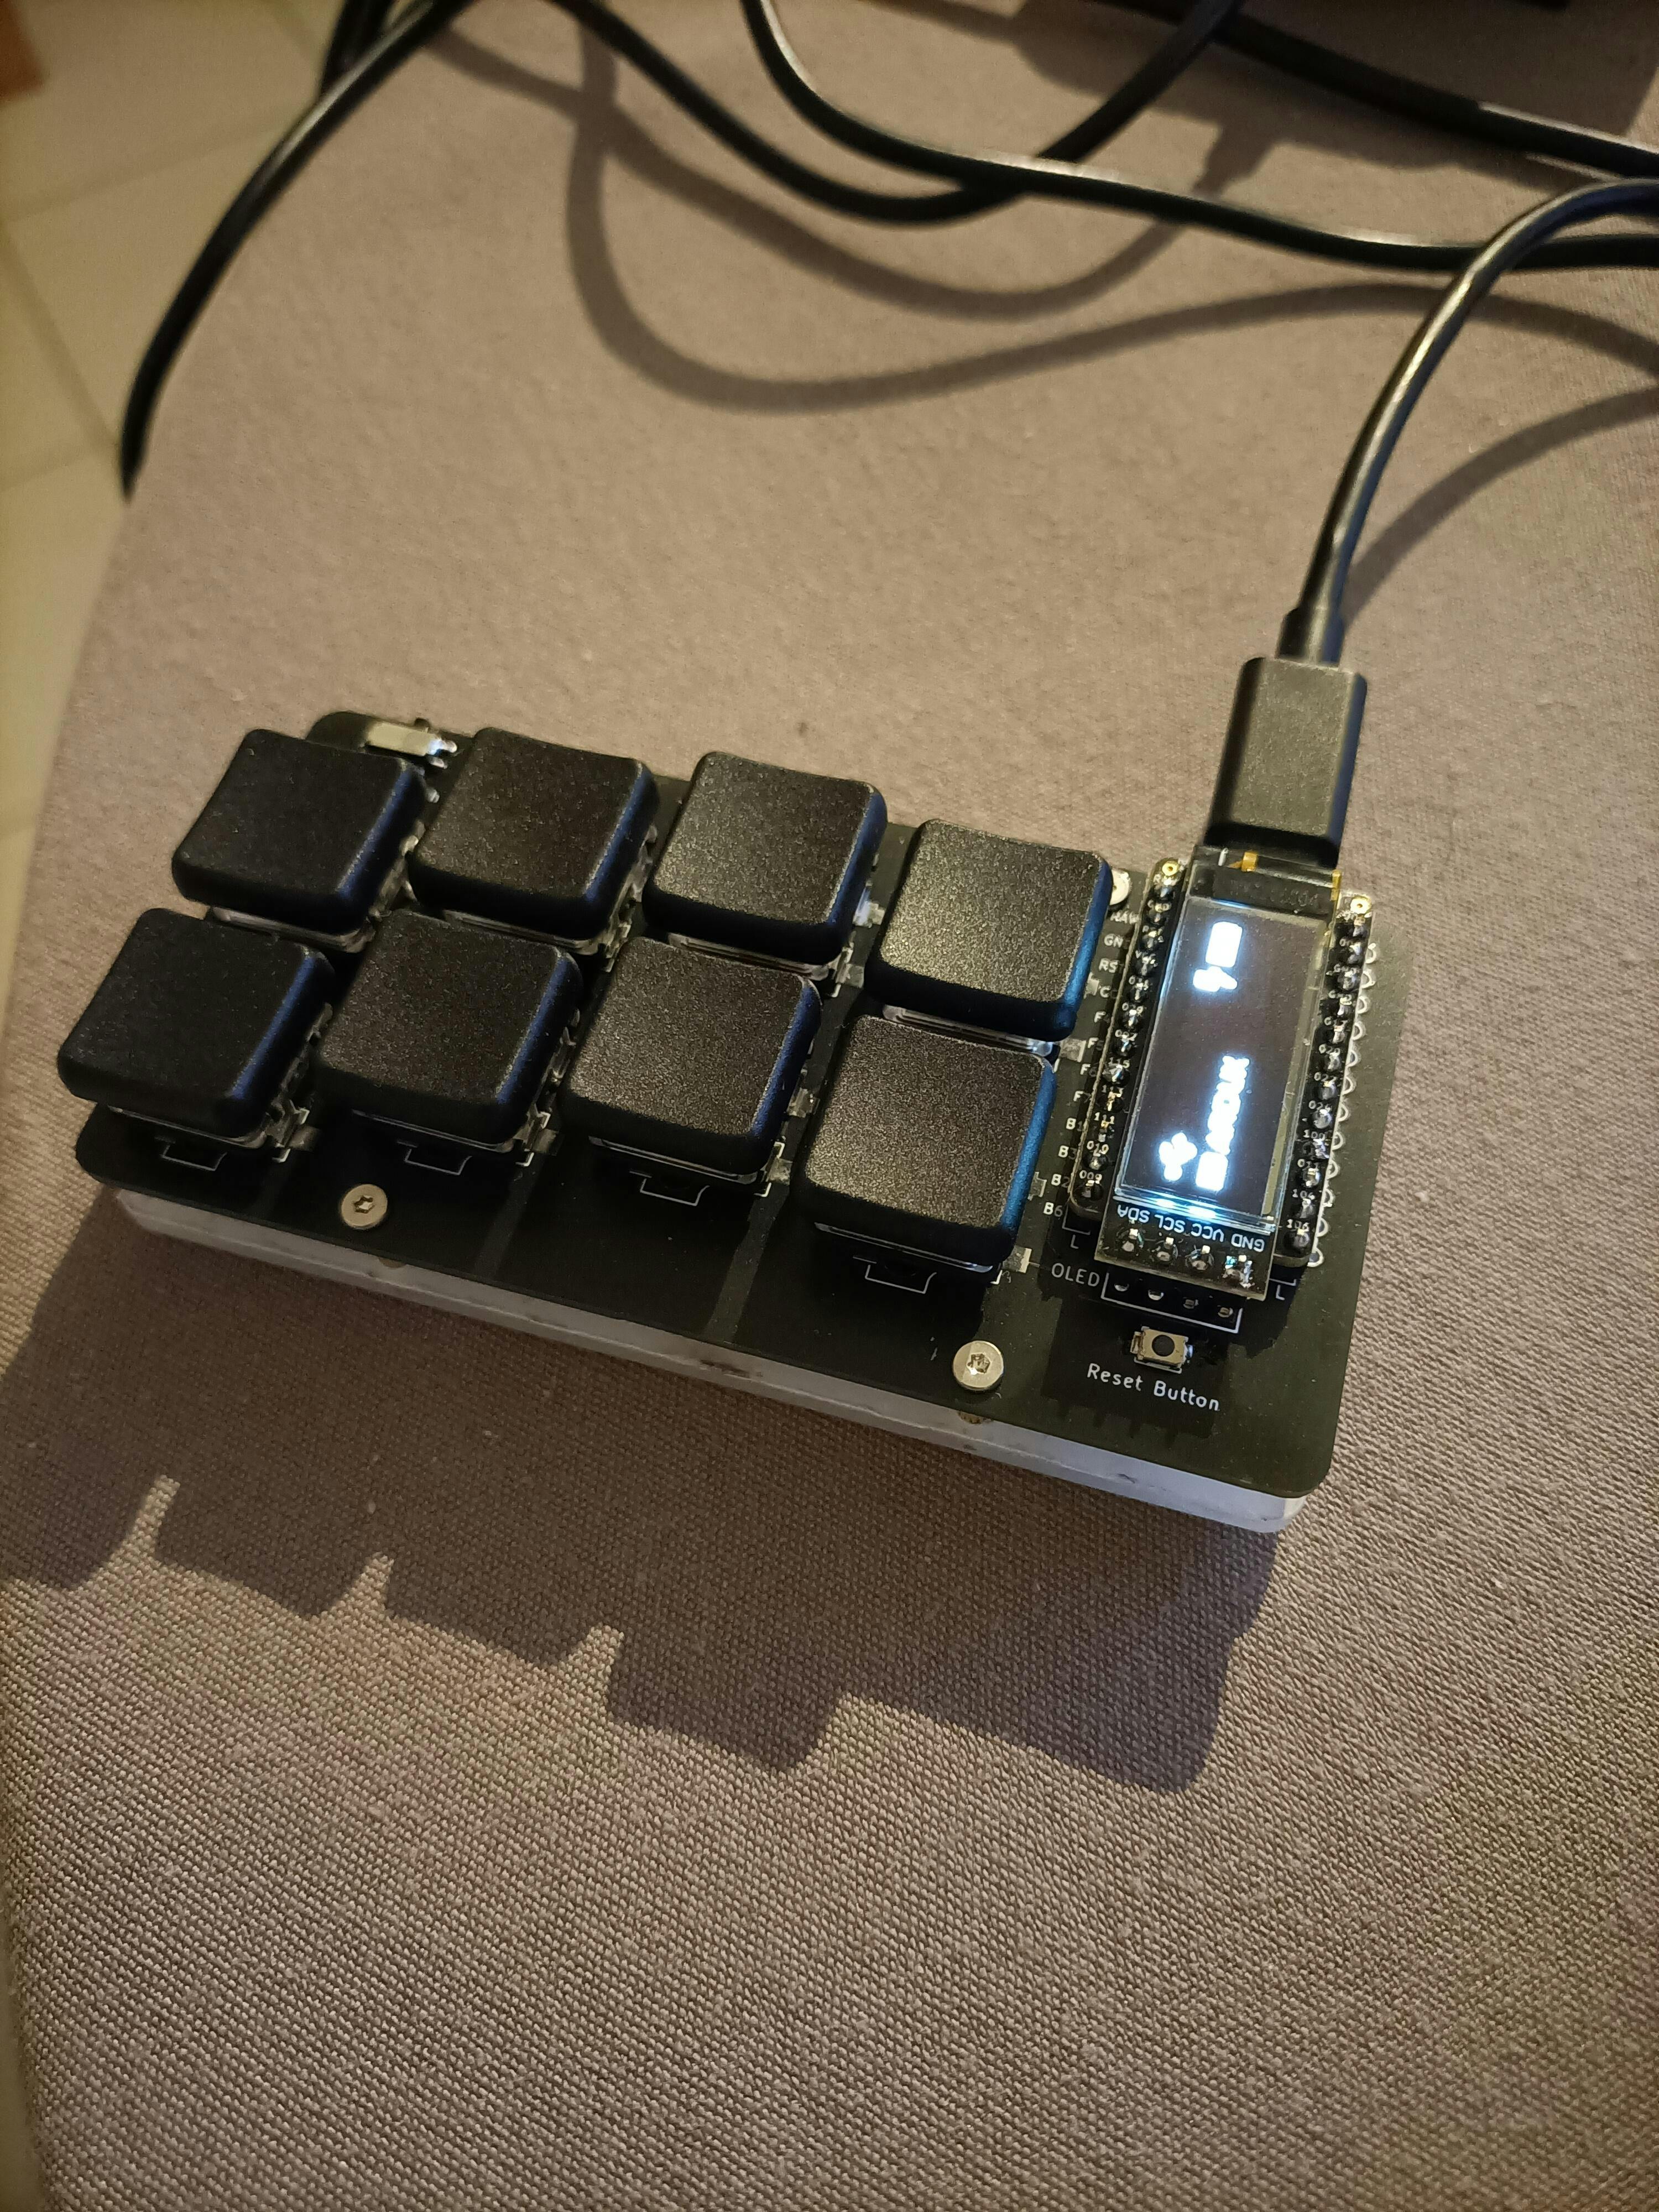
The Paintbrush is meant to be used with systems like ARTSEY.IO.
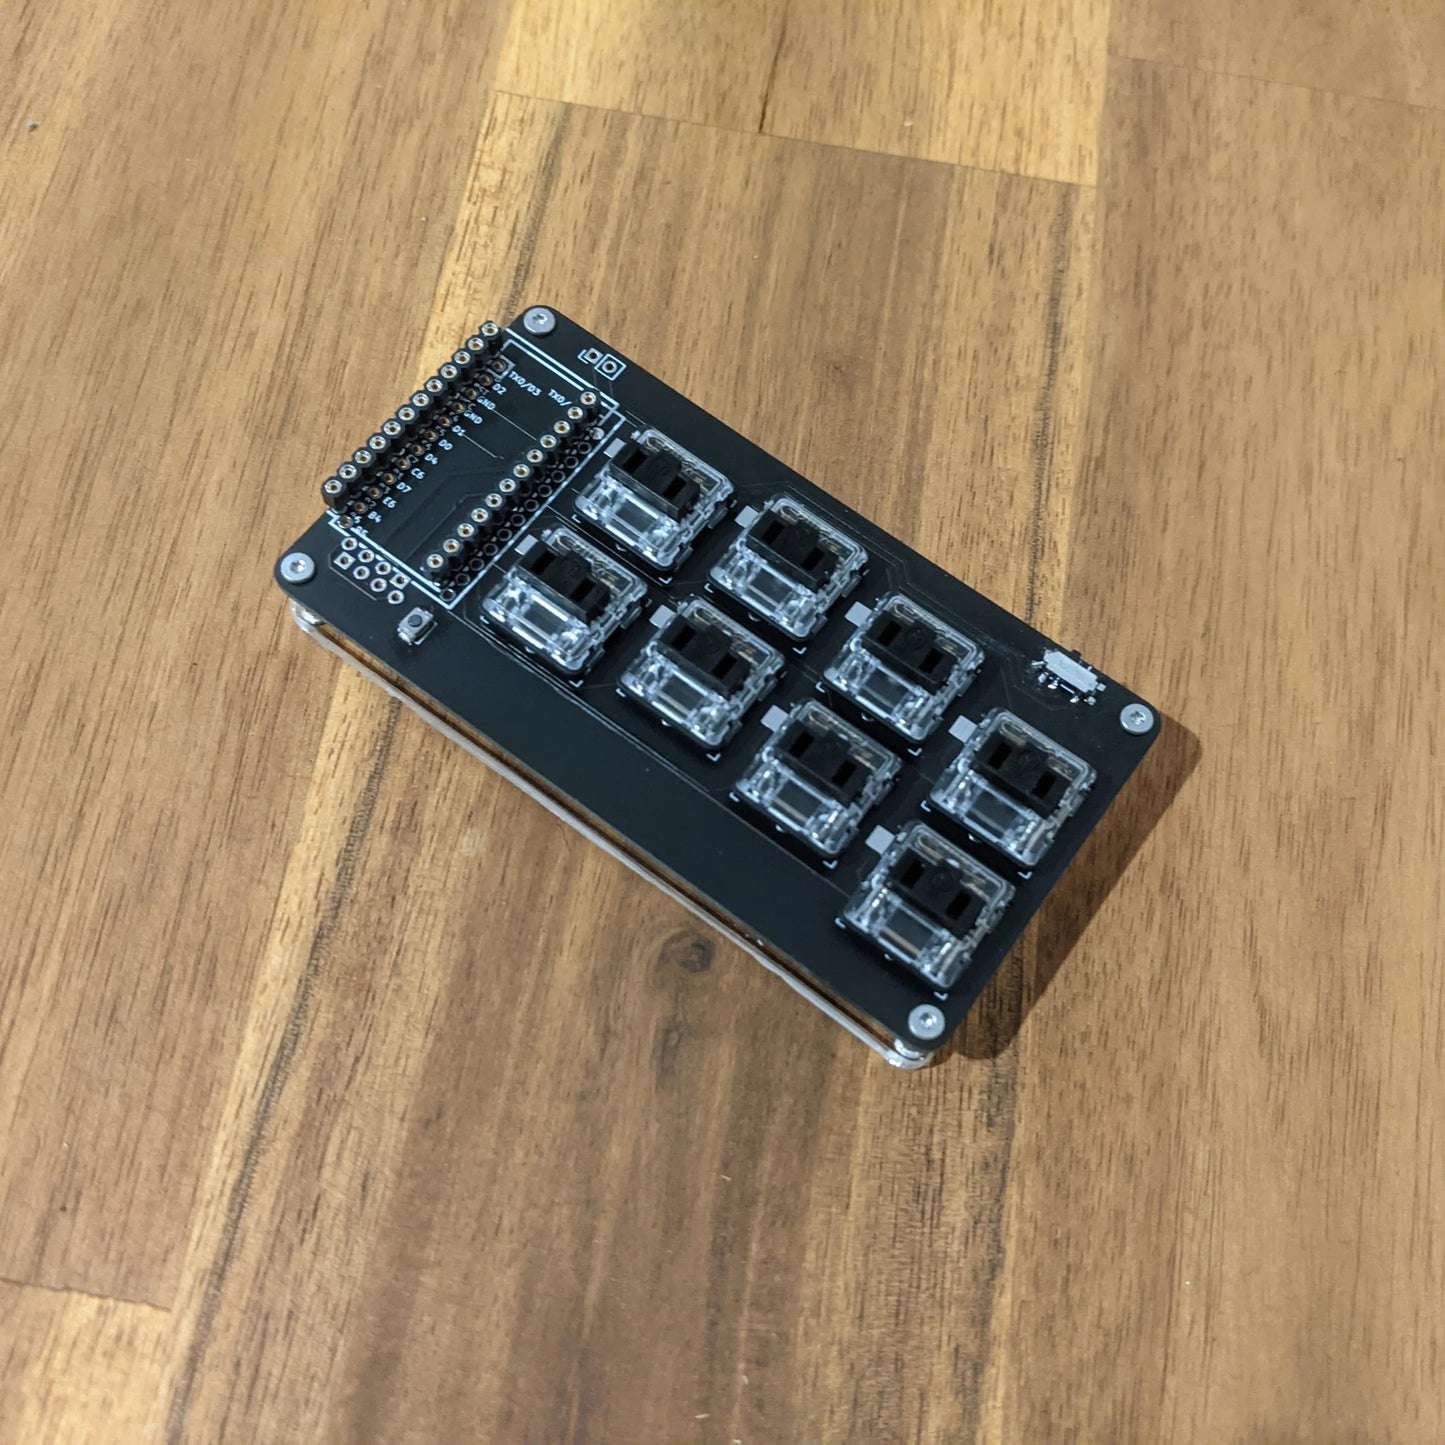
Kit Includes
Required to Complete
1 x 4Pin Header Socket (Enable Display Hot Swap)
Build Instructions
Share


I really like it. the build process was fun and easy and it looks well made.
the only downside was configuring the software, I had to learn zmk, search online for hours, experiment with different pinouts etc until I got it to work.. (I wanted it to be a simple macro pad)
I am currently working on a guide for the paintbrush to make the software side much MUCH easier for people like me who are not senior developers lol. I hope keebd will let me post it once I'm finished :)

First time properly building a keyboard, can definitely it was a lot of fun.
The build guide is pretty minimal - so it took me a bit to figure out how to solder the hotswap sockets (since I've never used them before), but I eventually figured it out. I do wish an extra socket was included, since they're pretty fragile and I accidentally broke one [but was able to just solder the switch directly].
I went with a SuperMini nRF52840 (from a different vendor) and the flashing was pretty straightforward - I just downloaded a .uf2 file from the zmk-ardux repository, pressed reset twice on the board and simply dragged the .uf2 file to the newly mounted drive. Ended up also porting the new ARTSEY layout as well. I do also want to mention that if you want add a battery, make sure it is small enough to fit between the PCB and the plate - but also consider that the hotswap sockets will take up 1-2mm of the free space (vertically).
Would recommend!
Built two. Used sockets on the second one which works out much better. Can someone tell me where to get the firmware? All the references I've found have cryptic information that means nothing to me. I need simple and plain language instructions, please.
The build guide is definitely short and gives only the very minimal information. Assembling the kit and soldering everything together is not hard, but finding out how to flash the right firmware is a bit more tricky if like me you are not familiar with GitHub and coding in general...
Apart from that the product matches the description and it works. I can note however that the base plate came with burnt marks which won't go away. (Just esthetic but still...)
Thanks for the excellent review Thibaud. The bottom plate you mentioned has white protective plastic on the acrylic that can be removed by peeling it off.
The build guide section has no guide. On github the instructions are so short as to not answer most common questions you may have. Very difficult.
The build guide linked on the product page shows with pictures and clear steps on how the few components need to be installed. It is a very quick and easy build.The build guide can be found here https://github.com/keebd/thepaintbrush/tree/main/hardware/v5#build-instructions