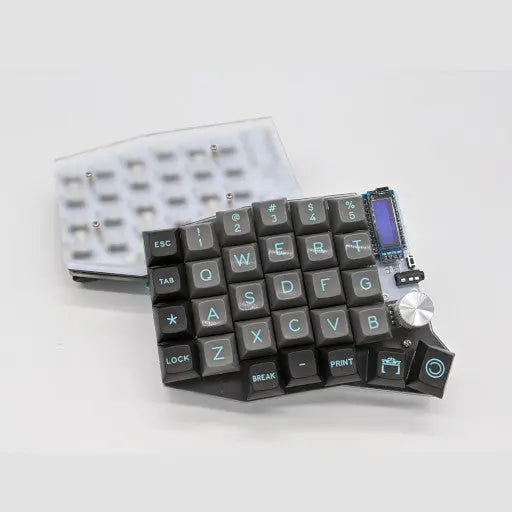
Helios Controller
Helios Controller

Stock notification
Get an email when this product is back in stock.
We respect your privacy and don't share your email with anybody.
Couldn't load pickup availability
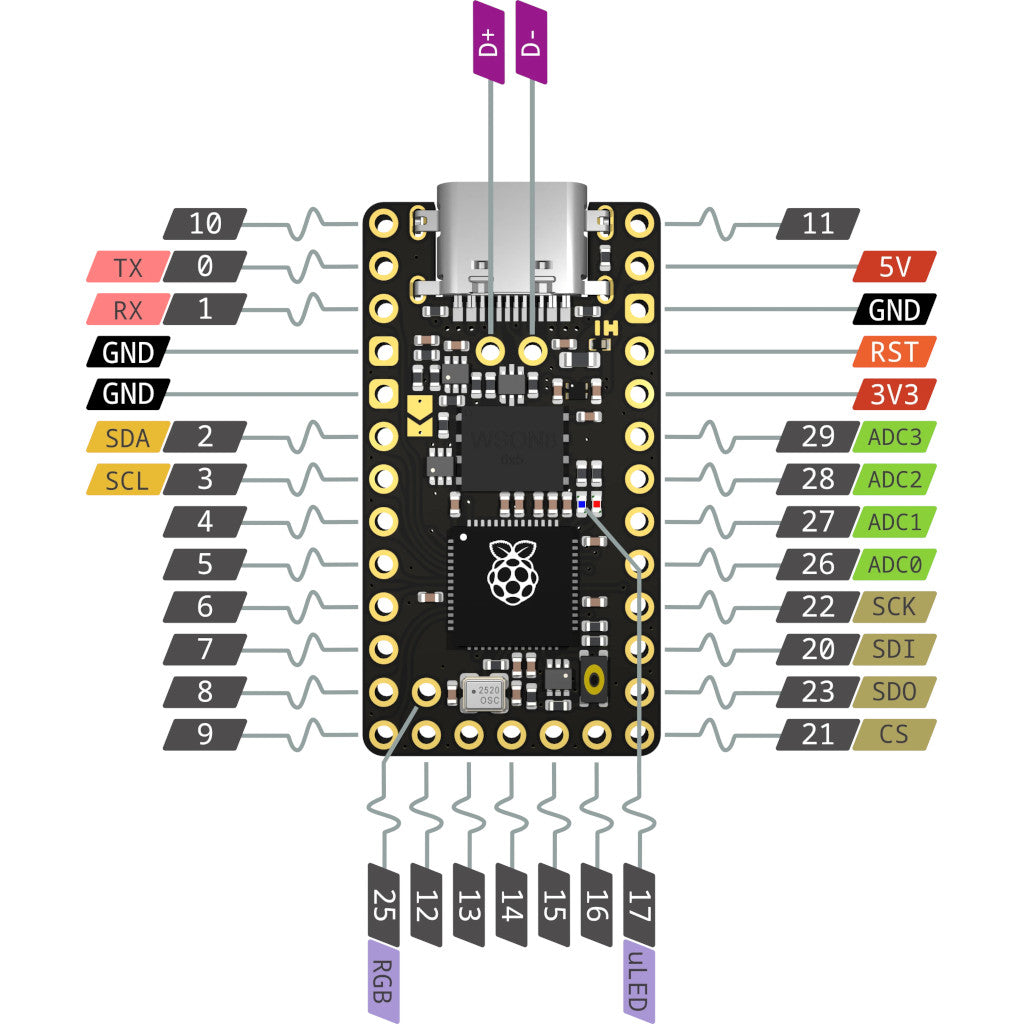
Designed for use in custom mechanical (split) keyboards, but many other uses are possible.
Features
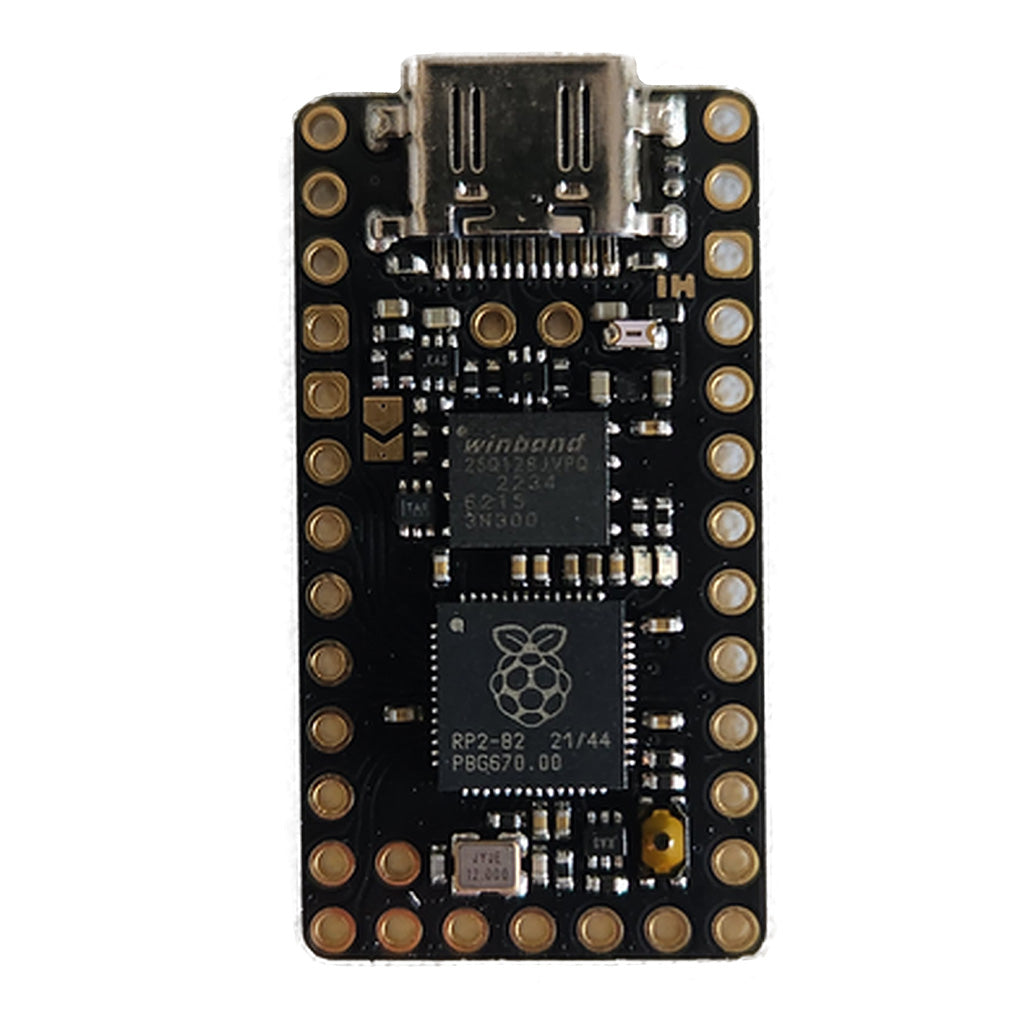
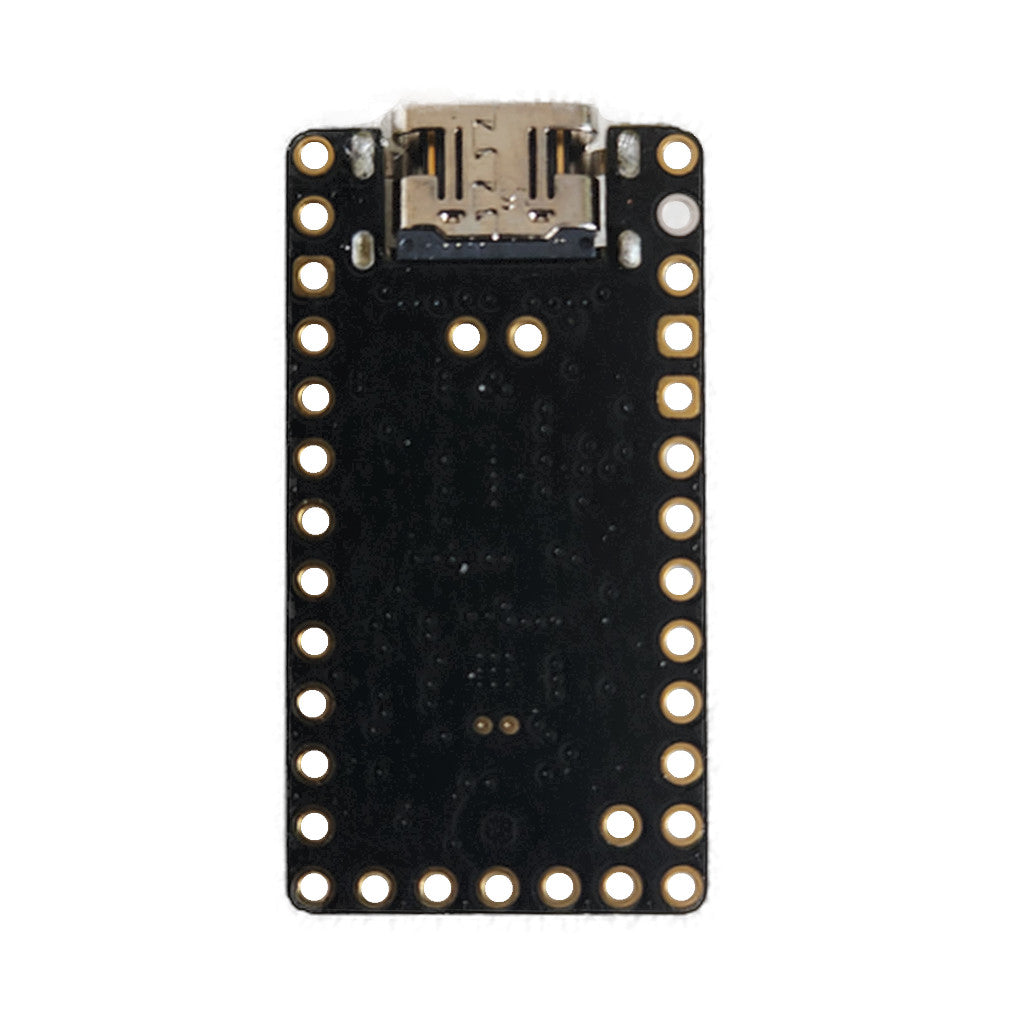
- Pro-micro / Sparkfun RP2040 compatible footprint, with 5 extra pins at bottom (Elite-C style)
- Raspberry Pi RP2040 MCU
- Default off red power LED that you can turn on via a jumper
- Blue user LED
- Level-shifter to drive 5V components.
- 16MB (128Mbit) flash memory
- Dual ARM Cortex-M0 @133MHz
- 264kB SRAM
- User LED & USB VBUS detect
- Low profile USB-C mid-mount connector
- PCB Thickness: 1mm
Programming
The Helios uses a single button switch and will auto enter bootloader mode out of the packaging. In order to enter bootloader mode click and hold the reset switch with a long (>500ms) click. This backwards compatibility also enables you to use reset buttons on existing keyboards for both functions.
Dimensions
34mm (H) x 18mm (W)
USB Port: 3.26mm (H)
PCB: 2mm (H)
Includes
1 x Helios RP2040 USB Type C Controller
This RP2040 controller is designed by 0xCB-dev
Share
set up your qmk to the keyboard and build you want and run
qmk flash -e CONVERT_TO=helios
ezpz. it'll build, convert to how Helios wants it, and flash in one command. If you have multiple keyboards or layouts you'll have to specify the name of each
Works as expected, recommended. Be sure to compile as .uf2 file
For all those QMK noobs like me: to use a keyboard config targetting a different mc:
qmk compile -e CONVERT_TO=helios
This automatically outputs UF2 and renames the pins of the config to match this mc.
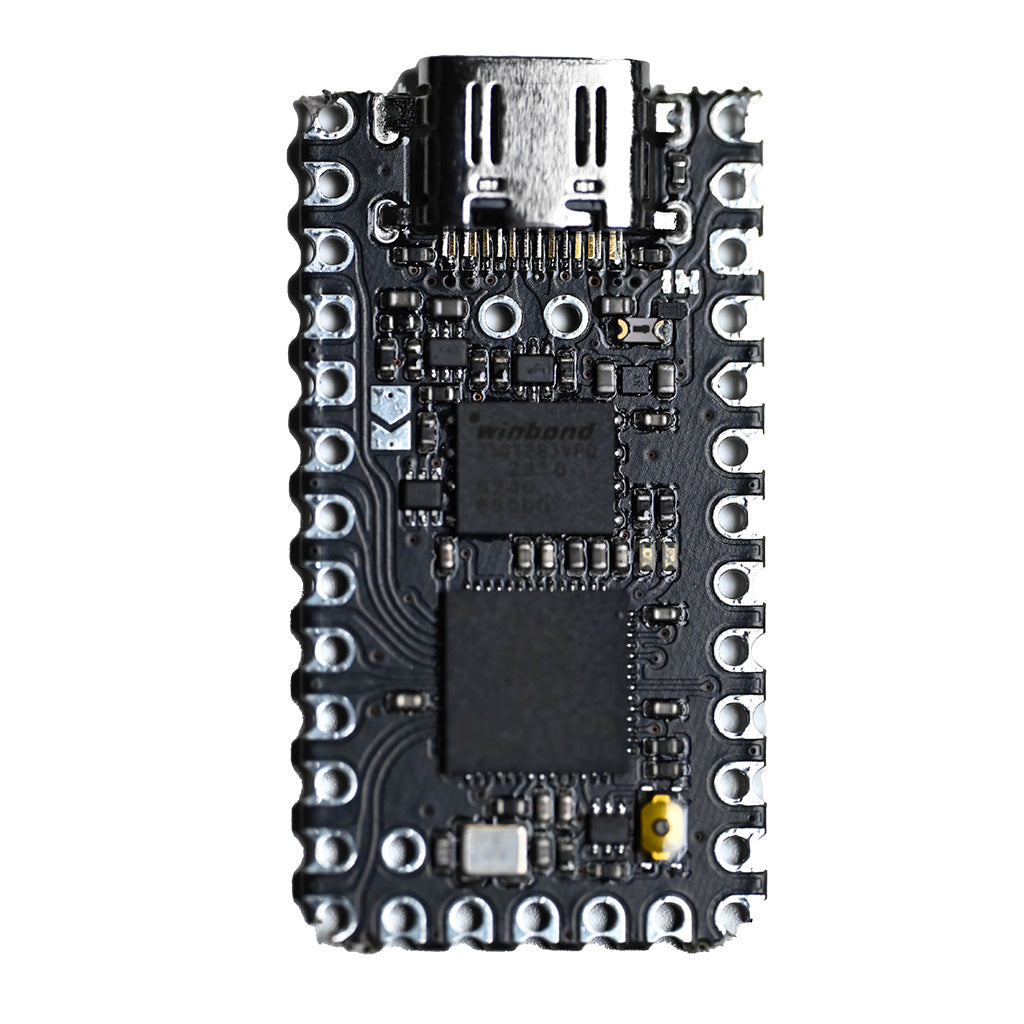
This was my first time working with controllers. I used these for my lily58 keyboard build. I flashed both controllers before soldering, and plug in to see they are dectected by my computer. I bought the castellated versions, they worked first time and no issues.
If you use the QMK firmware to flash the controller, you need to convert the file to 'helios' output, which gives you a .uf2 file to drag-drop onto the controller to flash it.
(docs.qmk.fm/#/feature_converters)
Also if you enable VIA in the firmware config you flash, you can use the VIA configurator to update your key maps from the website!
(www.caniusevia.com).
Works like a charm. Though note that this is an RP2040 based microcontroller, so although the pinout is compatible with the ProMicro, make sure qmk compile targets UF2 instead of the usual hex files for ProMicro boards. Also note that the additional first row pins on the Helios Controller. I placed mine a row off but luckily was able to still use it even after shorting VCC and Reset as opposed to Reset and GND.
