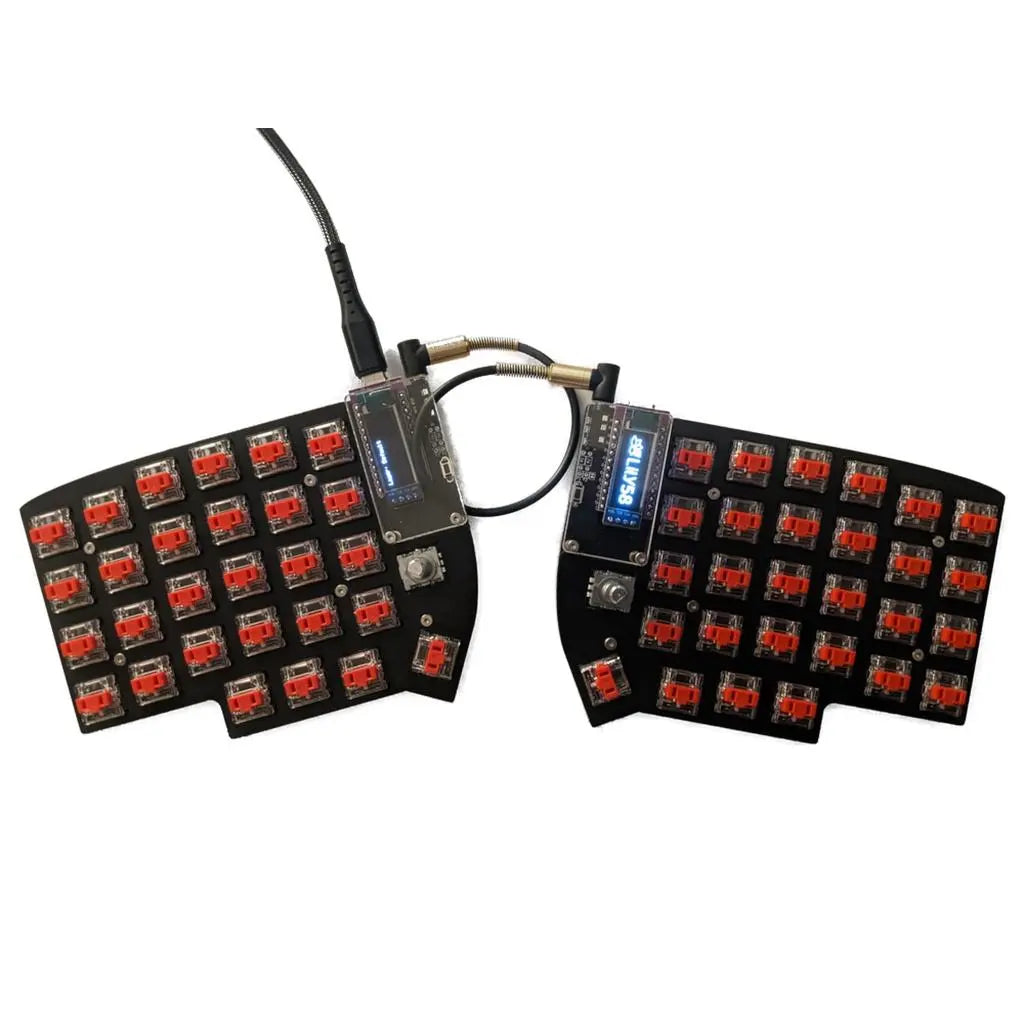
Kit de teclado Lily58 Pro
Kit de teclado Lily58 Pro

Notificación de stock
Reciba un correo electrónico cuando este producto vuelva a estar disponible.
Respetamos su privacidad y no compartimos su correo electrónico con nadie.
No se pudo cargar la disponibilidad de retiro
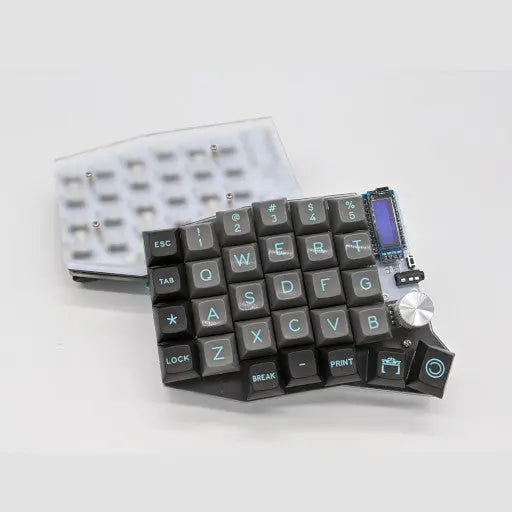
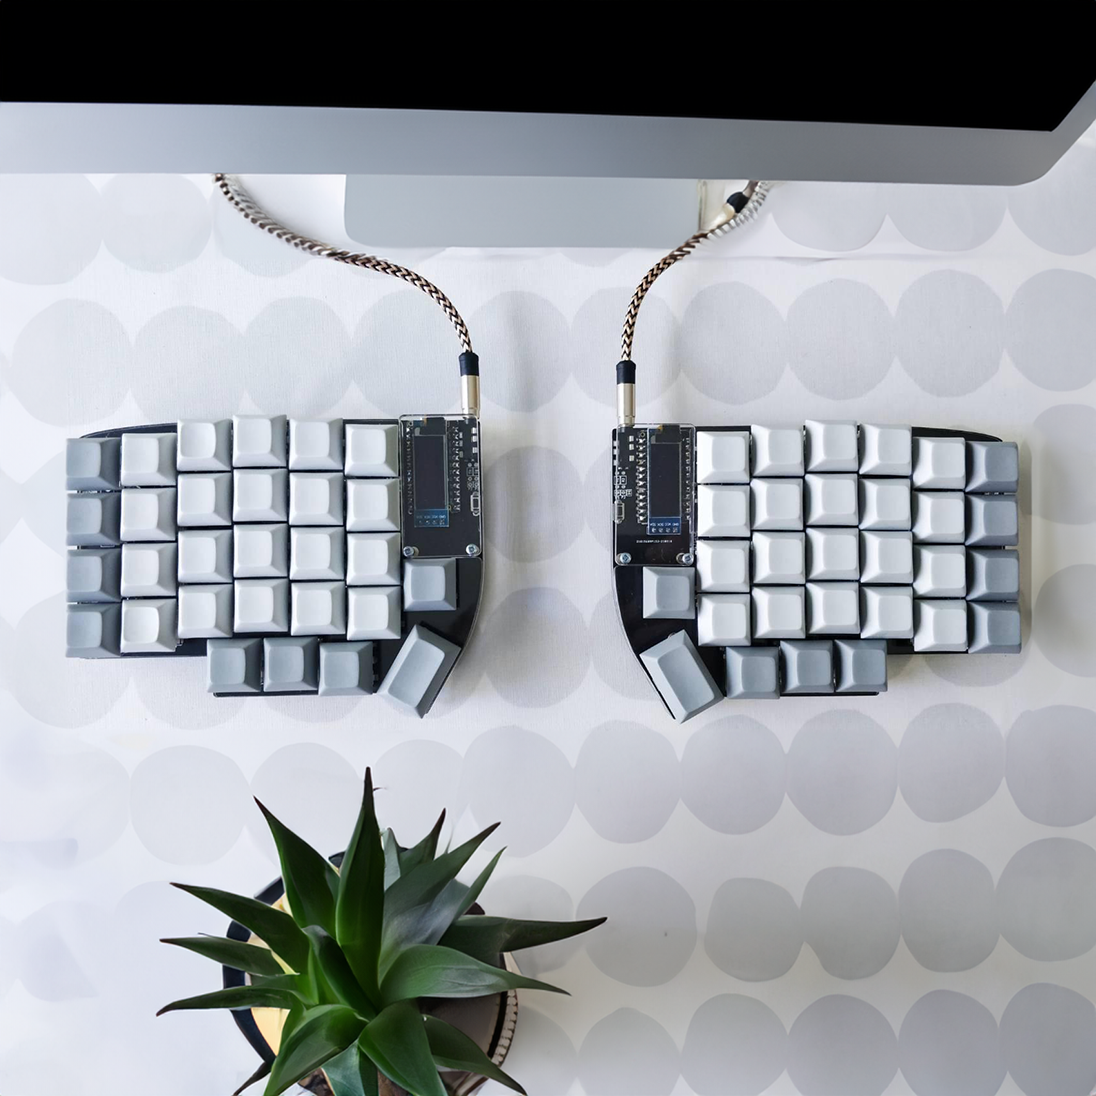
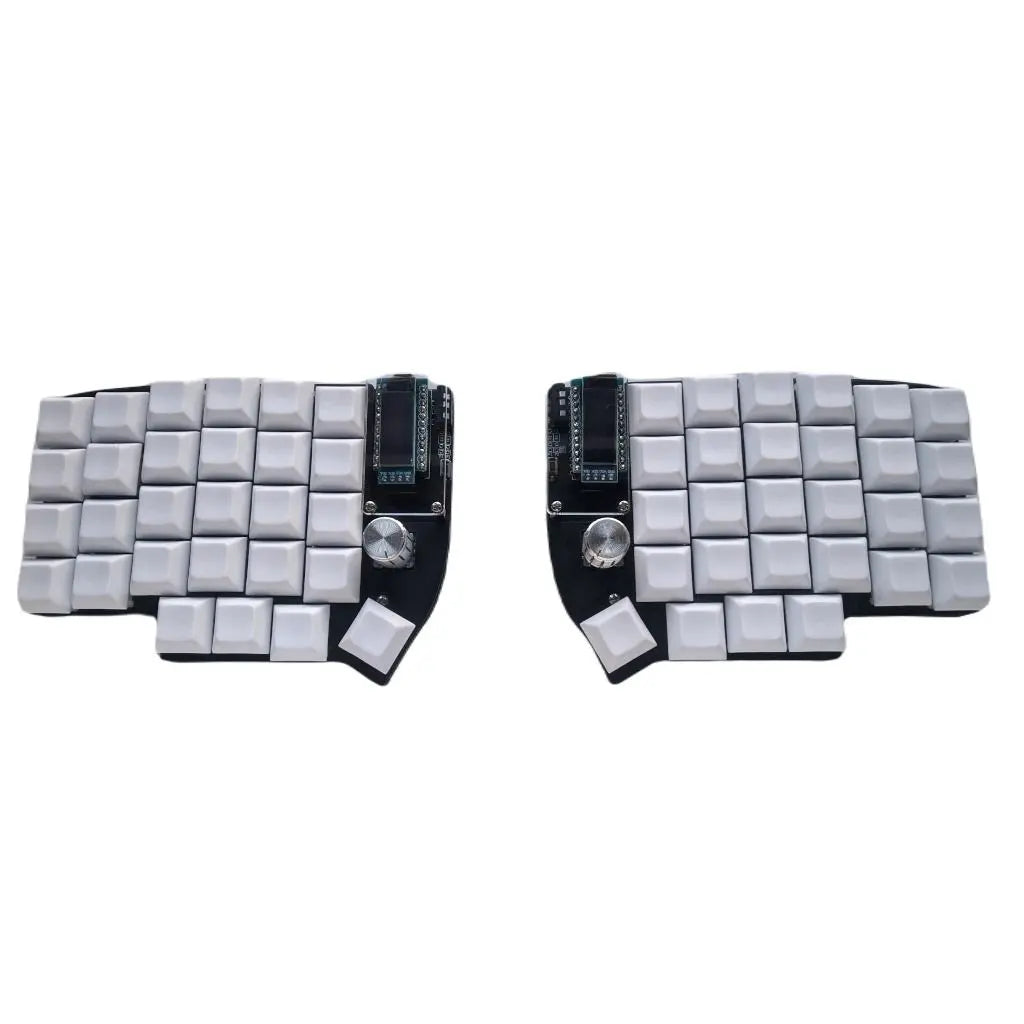
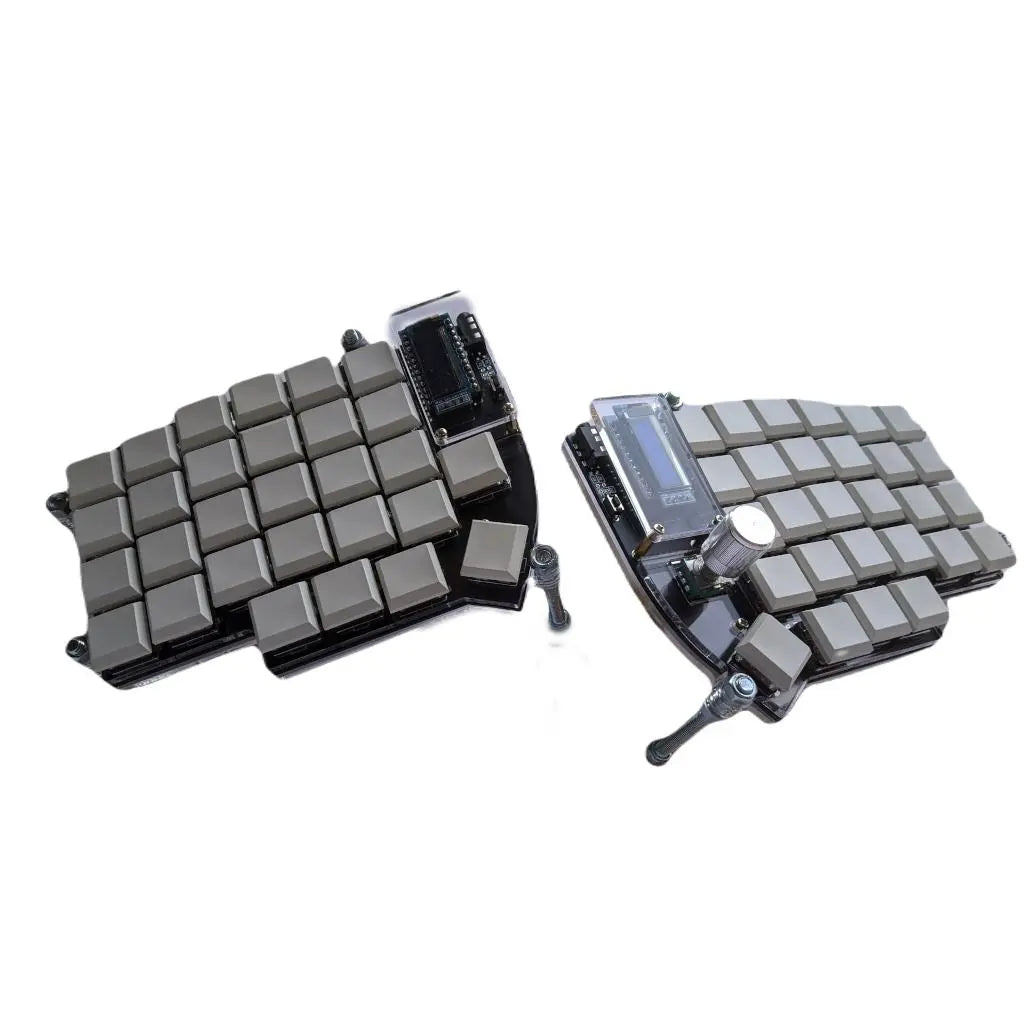
El teclado Lily58 Pro/Pro RE es un teclado dividido en columnas escalonadas de 6×4+4 teclas.
Pro = Compatibilidad con interruptor MX/Choc
Pro RE = Compatibilidad con codificador rotatorio
Este teclado ejecuta QMK y el firmware se puede encontrar aquí .
El kit incluye
2 PCB Lily58 Pro O Pro RE
2 placas de interruptor Lily58 Pro FR4.
2 x placas inferiores acrílicas
2 x cubiertas OLED acrílicas
1 cable TRS.
2 conectores TRRS
2 interruptores táctiles de 3x6
2 pantallas OLED
Separadores de latón de 4 x 10 mm
Separadores de latón de 10 x 7 mm (perfil normal MX) O Separadores de latón de 5 mm (perfil bajo Choc)
58 x enchufes Kailh Hotswap (perfil normal MX) O enchufes de perfil bajo Choc (perfil bajo Choc)
58 diodos (SMD)
28 tornillos.
8 x pies de goma
Requerido para completar
2 x Microcontroladores Pro (Viene con cabezales para conexión directa)
56 x teclas
Elementos opcionales
1 kit de funda para tienda de campaña Lily58 Pro.
1-2 x perillas codificadoras
2 cabezales hembra rompibles mecanizados de 40 pines (permite el intercambio en caliente del controlador)
Paquete de 2 x 25 pasadores mecanizados Mill-Max
Instrucciones de construcción
Guía de compilación de Lily58 Pro
Este teclado fue diseñado originalmente por Naoki Katahira y modificado para crear el Pro RE por Ergohaven y puede encontrar información aquí .
Compartir
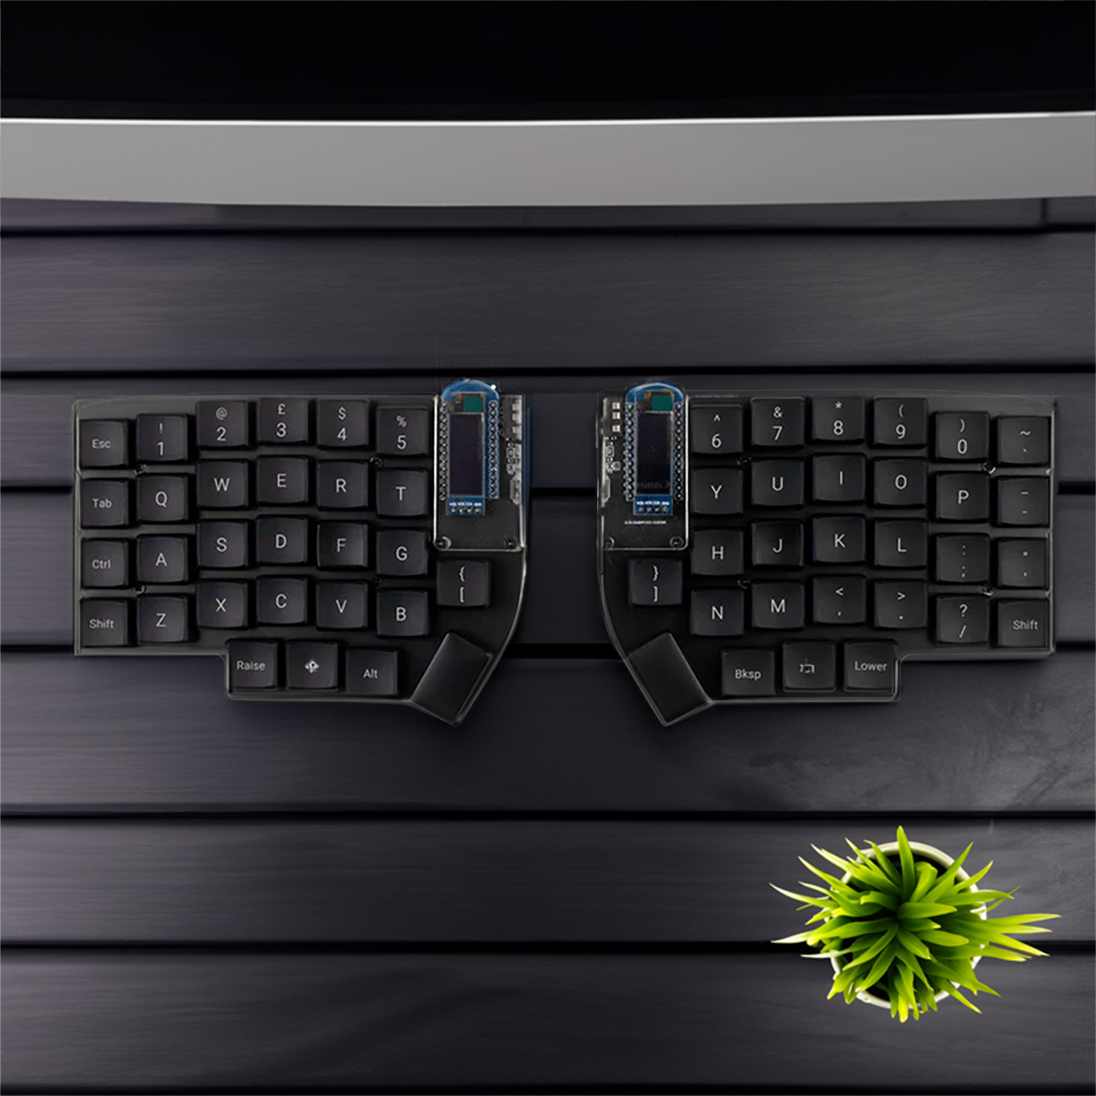
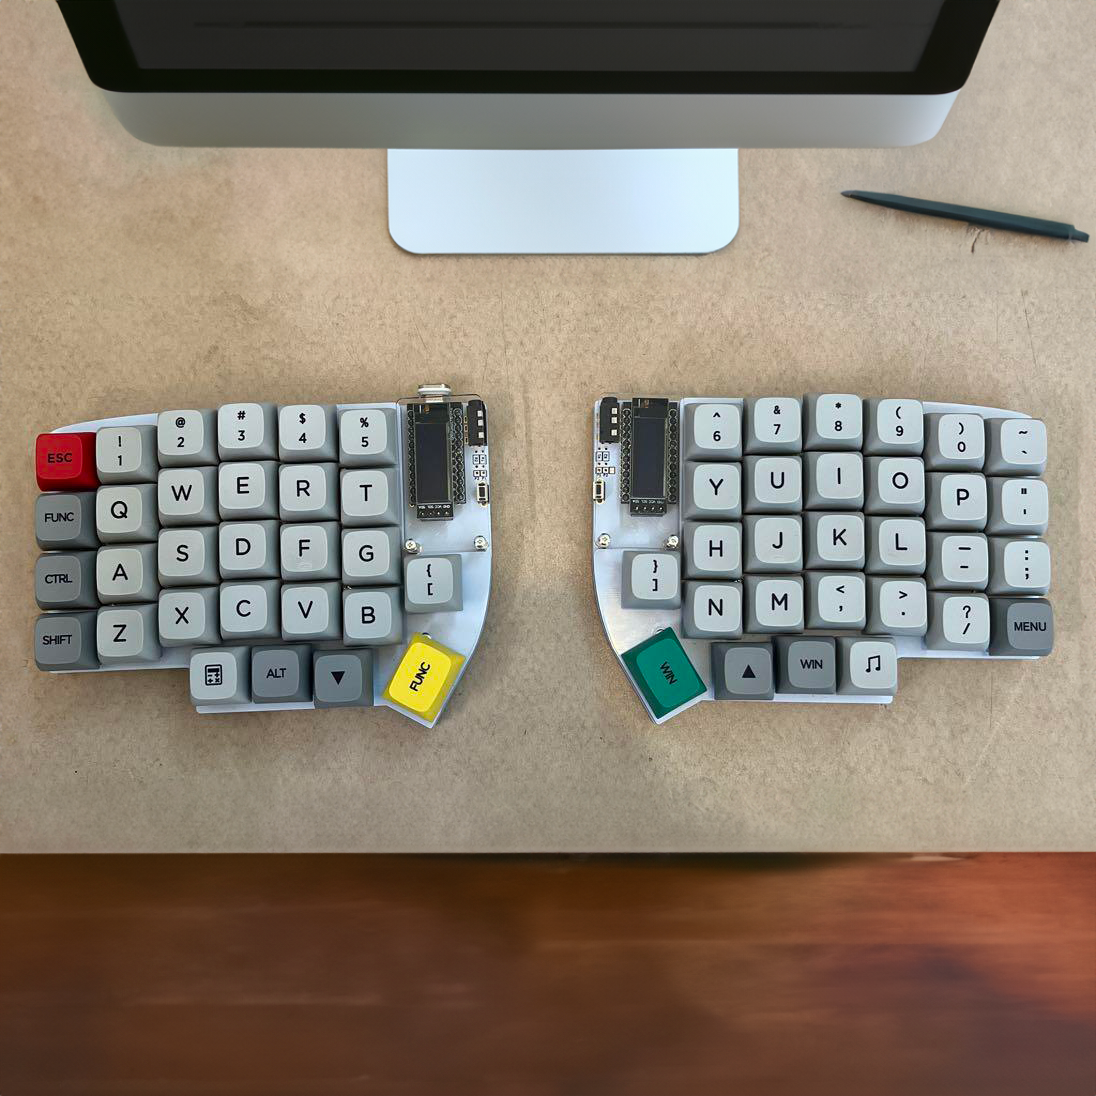
First time I've built a keyboard. Super happy with the result. Good to have an Australian retailer so I didn't have to wait too long for shipping.
The GitHub build guide can be a bit confusing at times so it's best to also consult a YouTube video build guide or any other resources you can find online.
Also you should buy a longer TRRS cable online as the supplied one in the kit is a bit short. I like to have my keyboards split around shoulder width apart which the supplied cable didn't allow for.
Came with all required parts, a little disappointed the bottom plates are clear instead of black.
All parts arrived in excellent quality and my new keyboard came together very well
This was my first non-standard keyboard try. Got everything needed (less switches and caps, of course). Guidance on build was easy enough to find. Having a great time working with the finished product. Thanks for putting this together.
Items were delivered quickly and was provided updates for every step of the process. Items also were packaged securely without any issues.
Kit was easy to put together with just a basic soldering station. Main confusion would be around flashing the firmware onto the boards as it changes depending on the board you have purchased.
Was a fun build and will probably get a few more kits to play around with in the future.
